Tuesday, December 28, 2010

Snowflake Cake

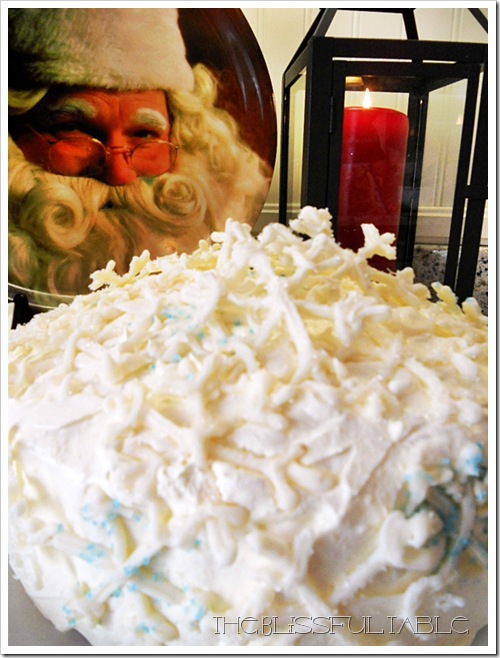
Ok, so here it is… this was my backup cake in case my Rudolph Christmas Cake didn’t turn out.

I served this cake at a different Christmas occasion and it was LOVELY!

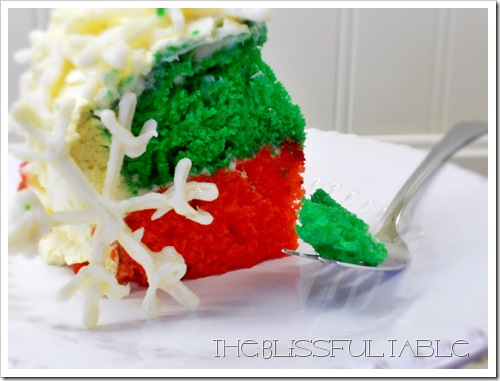
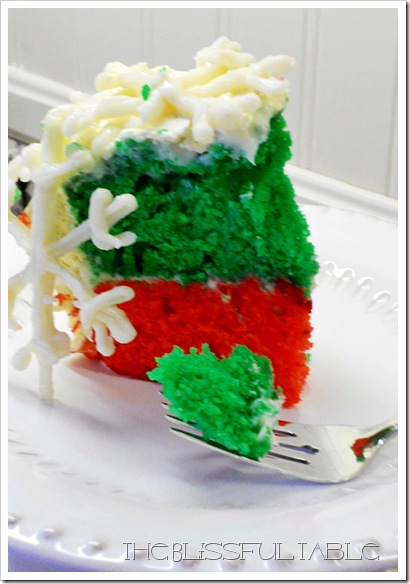
From the outside you’d never know what magic is on the inside.

The icing on this cake sets it apart from your normal basic butter cream or sugar icing.  The recipe for that is below.

The snowflakes were made from either white chocolate or candy melts, whichever you happen to have on hand. While still wet, I sprinkled white decorative sugar on them… I sprinkled just a few with some blue sprinkles, but given the chance, I wouldn’t do that again.. so take note!


Snowflake Cake 010a 

When you cut this winter beauty, here is what it looks like inside.

Snowflake Cake 036a

Ingredients

1 pkg. (2-layer size) yellow or French vanilla cake mix

2 pkg. (4-serving size each) Jell-O Vanilla Instant Pudding, divided

6 squares Baker's White Chocolate or 1 pkg white candy melts

1/4 cup icing sugar

1 cup cold milk

3 cups thawed Cool Whip Whipped Topping


Snowflake Cake 001a


Preparation:

Preheat oven to 350ºF.

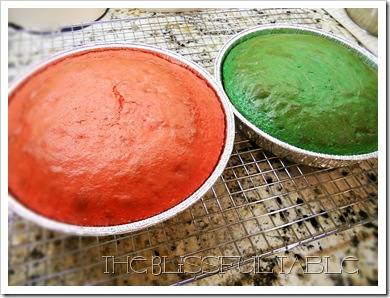
Prepare cake batter and bake as directed on package for 2 (9-inch) round layers, blending 1 pkg. dry pudding mix into batter. Pour batter equally into two bowls.  Add enough gel food coloring ( I use Wilton) to each bowl to make red and green.  Bake.  Cool cakes in pans 10 min.; invert onto wire racks. Gently remove pans; cool cakes completely.

Meanwhile, draw 3 or 4 snowflake shapes on paper, ranging in size from 1 to 3 inches in diameter. Place on tray; cover with waxed paper. Melt chocolate as directed on package; cool 5 min. Spoon into small resealable plastic bag; cut small corner off bottom of bag. Trace over snowflake patterns with chocolate, rearranging patterns as needed to make a total of 35 chocolate snowflakes. Freeze 10 min. or until chocolate is firm. Carefully transfer snowflakes to plate; refrigerate until ready to use.

Beat remaining dry pudding mix, sugar and milk in large bowl with whisk 2 min. Stir in Cool Whip. Place 1 cake layer on plate; spread with 1/3 of the pudding mixture. Cover with remaining cake layer. Frost top and side of cake with remaining pudding mixture. Decorate with snowflakes. Keep refrigerated.

*Adapted from Kraft Canada

Snowflake Cake 027a

Enjoy !
lisapinkfork

Monday, December 27, 2010

Christmas Rudolph Cake

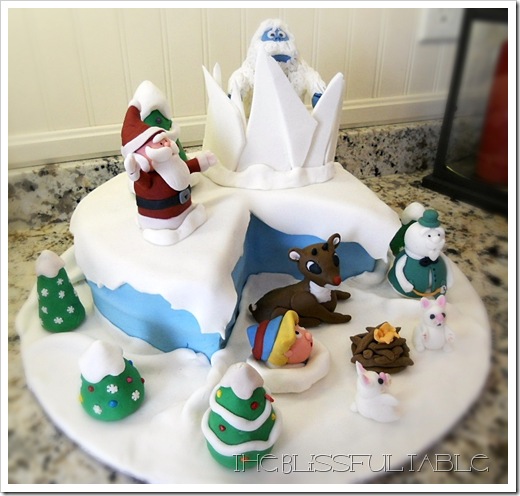
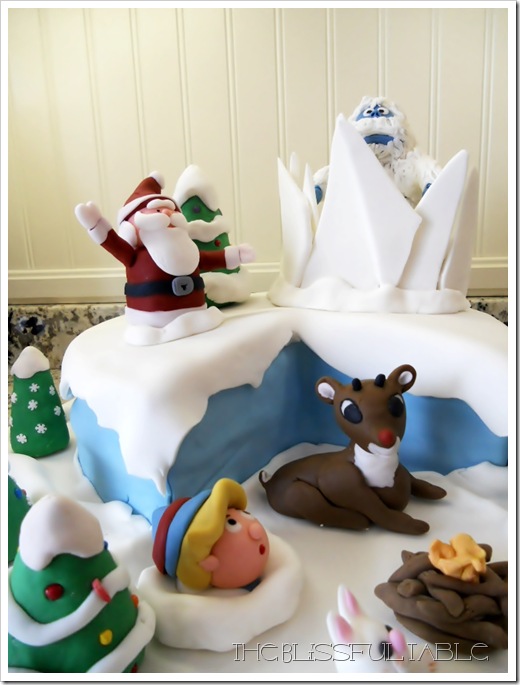
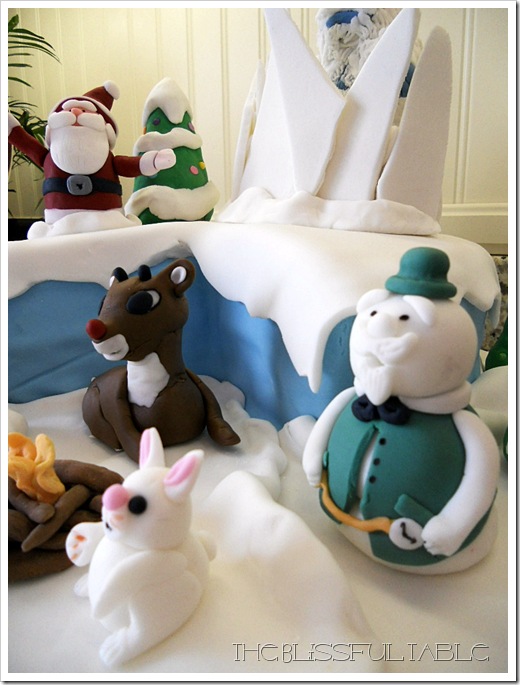
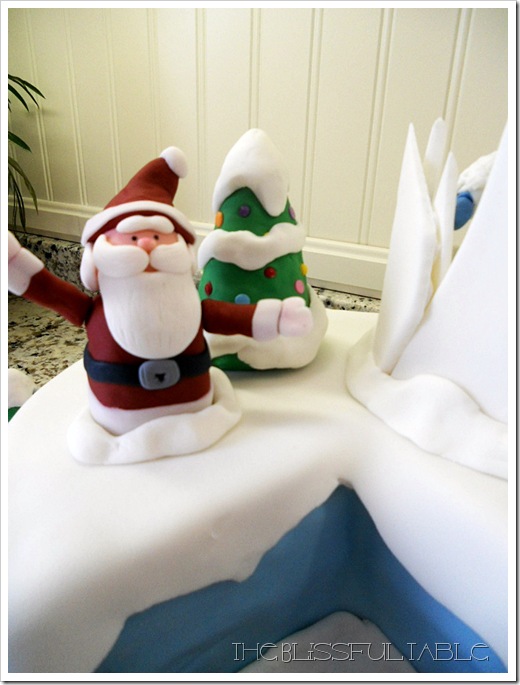
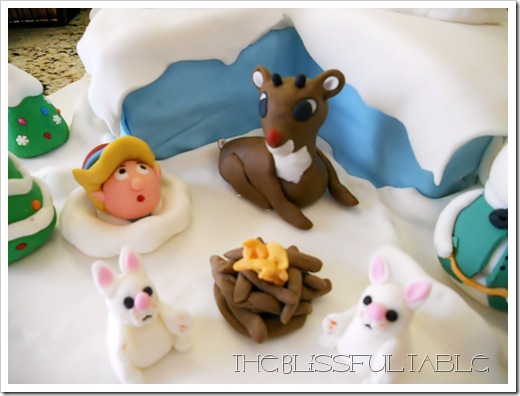
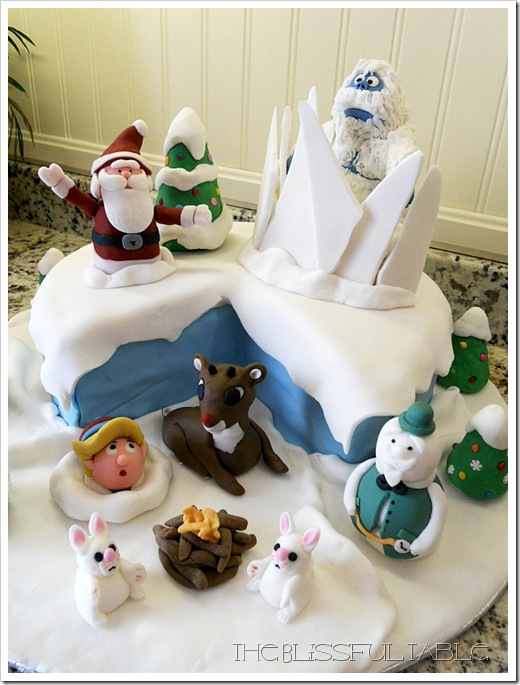
Here is my Christmas Rudolph Cake.
Figurines were made ahead of time to allow for them to harden and keep their shape. Some figurines were made entirely of fondant, others were were fondant covered rice krispie treats.
The actual cake was tremendously delicious.  For this cake I used a doctored cake mix which you will find at the end of this post.  The doctored version of a cake mix makes more batter and gives the mix a denser texture needed for some fondant cakes.

To see the Fondant figures click HERE 

Christmas 2010 032b
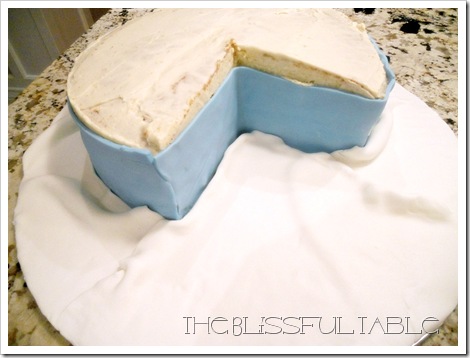
It was about this time during the cake assembly that I decided to make my back up cake !
Christmas 2010 004a
But I kept trudging on, and I was pleased with the results.
Christmas 2010 017a
Christmas 2010 018a
Christmas 2010 021a
Christmas 2010 028ajpg
Christmas 2010 023a

Christmas 2010 040a

Doctored Cake Mix for a denser cake

1 pkg of any kind of cake mix to which you add all of the ingredients called for on the box
In addition: 1 cup all-purpose flour
3/4 cup sugar
1 tsp. baking powder
1/2 cup softened butter 
2/3 cup water
Preparation:
Prepare your pan with spray oil as well as a fitted piece of parchment paper on the bottom.  Spray parchment paper with spray as well.
Beat the butter, then add all of the ingredients the cake mix called for and then all of the other ingredients. Blend on low for 1 minute, then 2 minutes on medium, scraping the bowl down. Generally, cook at 325F for the larger cakes, 350F for smaller and you will need to add baking time, perhaps about 10-15 minutes to the times given on the cake mix box. Check every  5 minutes or so.  You will get about 6 1/2 cups of batter from this recipe.  Deliciously moist, yet dense enough to work with.
Enjoy ~!
lisapinkfork

Wednesday, December 22, 2010

Rudolph Fondant Figurines

I’ve spent some time lately making these fondant figurines for this Christmas cake that I have planned (in my head).  Whether or not this cake actually turns out anything like I planned will be another story.

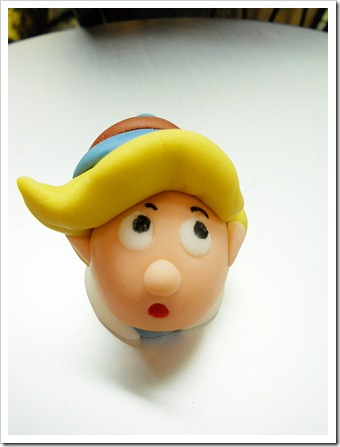
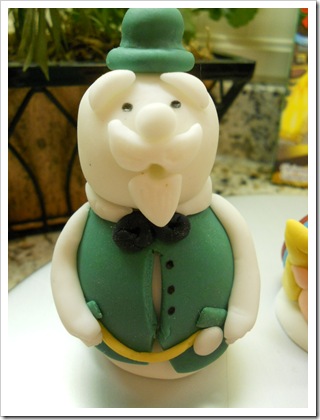
Here is a sneak peek of the Rudolph Characters that will be a part of the cake.

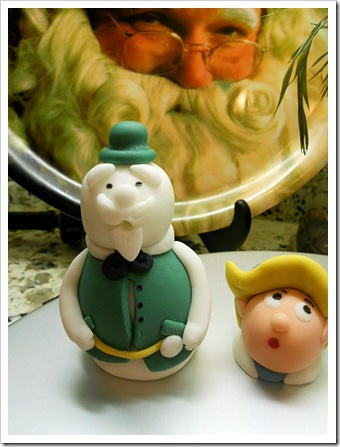
First we start with Hermie the Elf.  I made Hermie as if he was popping out of the snow bank when he first meets Rudolph, (and of course because he didn’t need a body that way). rudolph figurines 004a

rudolph figurines 002a

Next, I did Sam the Snowman.. not bad.. a little rough around the edges, but I’ll fine tune him later.

rudolph figurines 005 rudolph figurines 006a

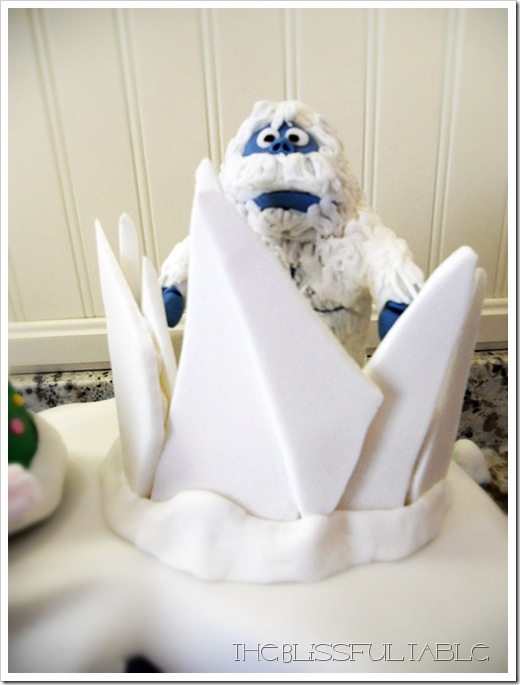
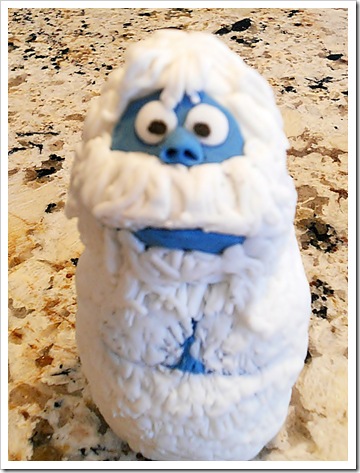
Then, the Bumble.

At the time of this picture he had no arms or legs yet. He’s finished but you’ll see that when you see the cake.

rudolph figurines 014a

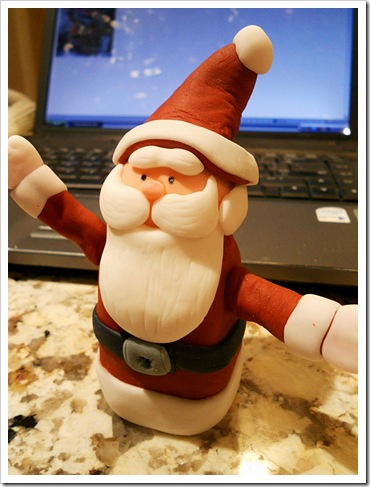
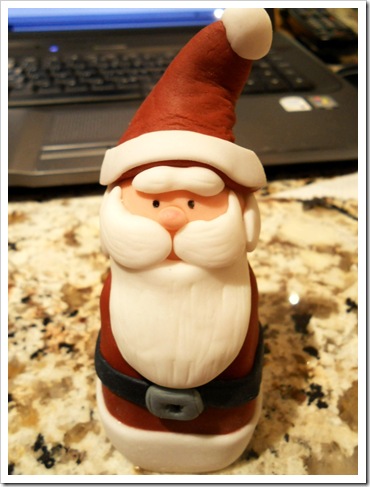
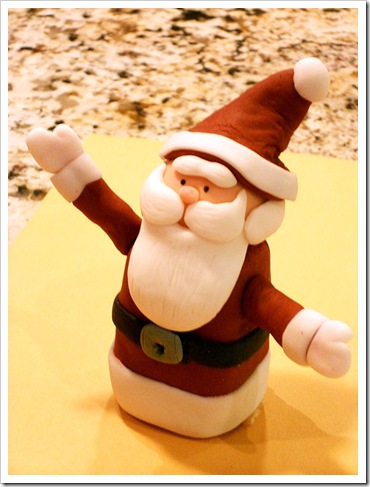
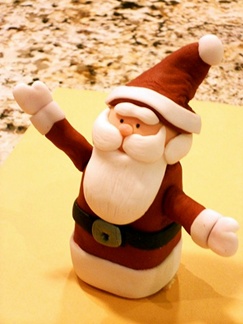
Of course we needed Santa.

With my computer in the background, I keep a picture of the characters up on the screen while making the figurines.

rudolph figurines-santa 006a

rudolph figurines-santa 003a

Um… yeah, I don’t know if you’ve ever noticed these characters bodies, but they seem to have gigantic bodies and toothpick legs. So there was no way little skinny branch legs were gonna hold up this fella, so yep, he’ll be stuck in the snow too!

rudolph figurines-santa 012a

Rudolph took me three different tries… so no pictures yet. I’ll post pictures of the finished cake when it’s done in a couple of days. Wish me luck…  without it, you just might see cupcakes posted instead.

lisapinkforksignature

Tuesday, December 7, 2010

Simple Butter Cake

I’ve been looking a long time to find a recipe that is flavourful yet dense enough to handle layers and the heaviness of fondant. It will also work well when sculpting cakes.

I found this recipe at Wilton.  It is very basic and I’m sure with some amazing fillings and maybe some colour you can make this cake any way you like to suit any taste.

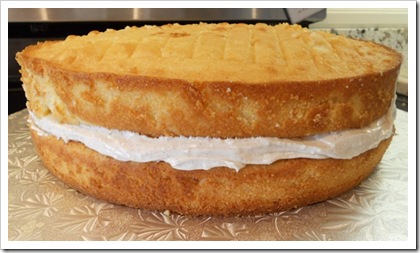
I also needed a recipe that would fill a 12” x 2” deep cake pan I just bought.  This cake makes enough batter for a large cake.  Pictured below are TWO cakes, not one cut in half.

buttercake

Ingredients

  • 1 1/2 cups butter, room temperature
  • 2 1/2 cups granulated sugar
  • 5 eggs
  • 1 teaspoon pure vanilla extract
  • 3/4 teaspoon No Color Almond Extract
  • 3 cups all-purpose flour
  • 3/4 teaspoon baking powder
  • 1/4 teaspoon salt
  • 1 cup milk

Makes: About 7 1/2 cups cake batter

Preparation:

Preheat oven to 350°F. Spray pans with vegetable pan spray.

In mixer bowl, cream butter and sugar until light and fluffy. Add eggs one at a time, mixing well after each addition. Mix in vanilla and almond flavour. Mix flour with baking powder and salt. Add flour mixture alternately with milk, starting with the flour; mix well. Pour into prepared pans.

For a 12” x 2” cake pan, (big enough for the 7-1/2 cups of cake batter), bake for 40-45 minutes.

Cool 10 minutes in pan. Loosen sides and remove. Cool completely before decorating.


lisapinkforksignature

Sunday, November 28, 2010

Cream Butter Scones

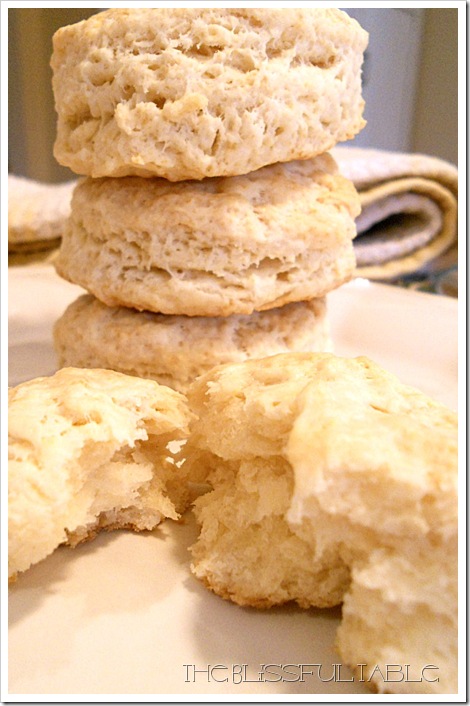
Sunday Morning.

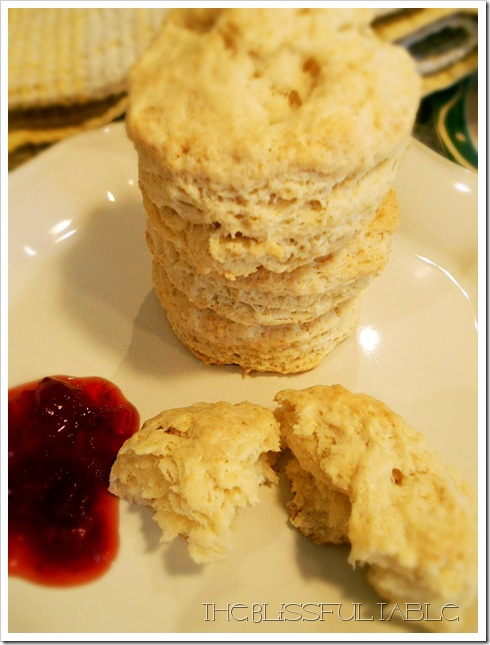
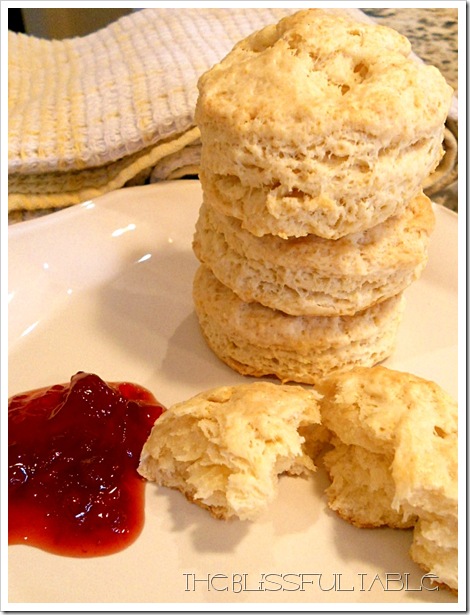
Time for fresh baked scones. mmmmmm

These scones are fluffy and flakey and best served warm. Serve with Devonshire Cream,  our Strawberry Lemon Jam, Cinnamon Honey butter, or a dab of plain butter.. or.. plain.

Cream Butter Scones 011a

Ingredients

(Makes 10 –14 scones depending how big you cut them)

Make sure all ingredients are cold

2 cups all purpose flour

1/4 cup granulated white sugar

2 tsp baking powder

1/4 tsp salt

1/3 cup cold unsalted butter, cut into pieces

1 large egg, slightly beaten

1 tsp vanilla extract

1/2 cup heavy cream

Cream Butter Scones 002a

Cream Butter Scones 003a

Cream Butter Scones 005a


Preparation:

Preheat oven to 375 degrees F and place the rack in the middle of the oven.  Line a cookie sheet with parchment paper.

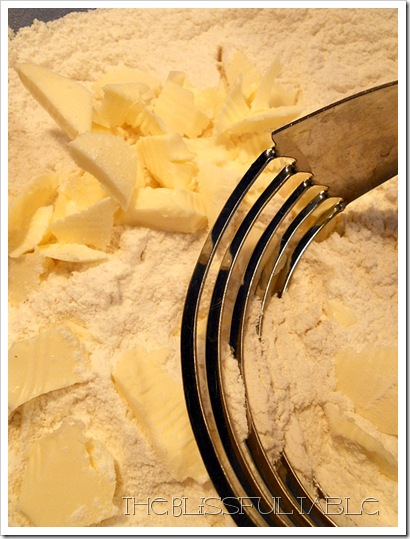
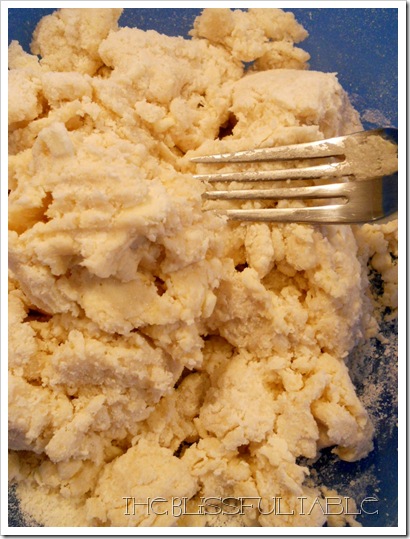
In a large bowl, whisk together the flour, sugar, baking powder and salt. Cut the butter into small pieces and blend into the flour mixture with a pastry blender or two knives. The mixture should look like coarse crumbs. In a small measuring cup combine the whipping cream, beaten egg and vanilla. Add this mixture to the flour mixture. Stir just until combined. Do not over mix.

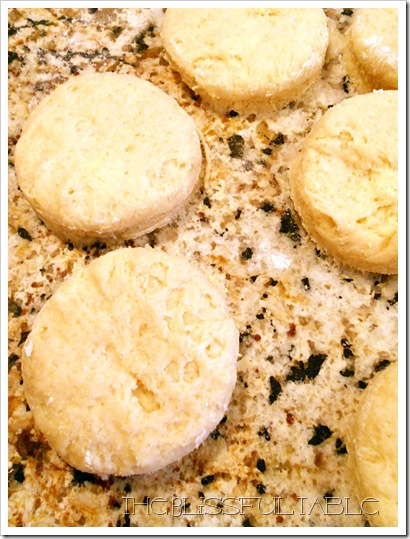
Knead dough gently four or five times and then pat the dough into a circle that is about 7 inches (18 cm) round.  Then, using a 2-1/2 inch round cookie cutter or glass top, cut the dough into rounds.  Place the rounds on the prepared cookie sheet, spacing a couple of inches apart.  Brush the tops of the scones with a little cream.  This helps to brown the tops during baking.

Bake for about 15 - 18 minutes or until nicely browned and a toothpick inserted into the center of a scone comes out clean. Remove from oven and transfer to a wire rack to cool.  Top with your favorite butter or jam.

Scones freeze very well.

Cream Butter Scones 013a 

Cream Butter Scones 007a


Enjoy !
lisapinkfork

Sunday, November 21, 2010

Shopaholic Cake

(Sorry Mom)
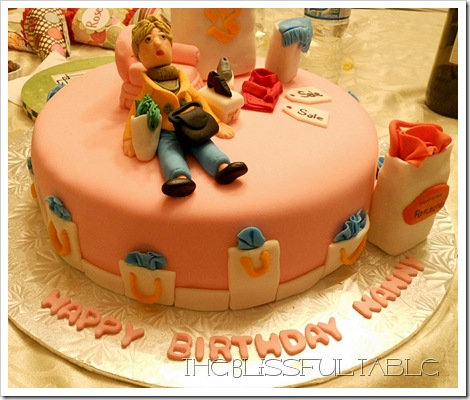
I made this cake for my mothers birthday this past weekend. 
Let’s just say… she likes to shop~!
This time the  cake was made from scratch (see Simple Butter Cake recipe) as I wanted a heavier cake to support some of the fondant figures.
The cake is a very simple butter cake with a cream cheese cinnamon filling.
This cake was large.  I used 2 cakes, both in a 12” x 2” deep pan.
Shopping Cake 014
Shopping Cake 015a
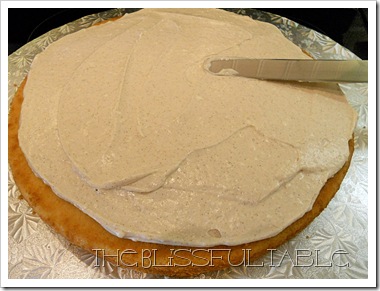
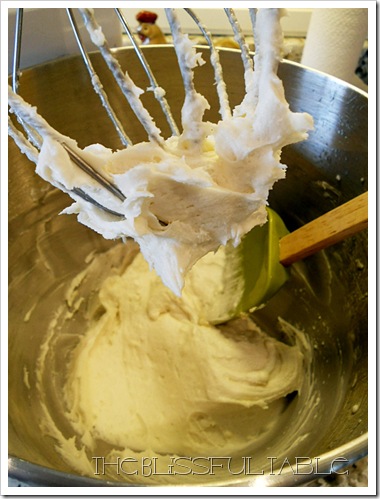
I made  my own buttercream icing to crumb coat the cake.
Shopping Cake 019a
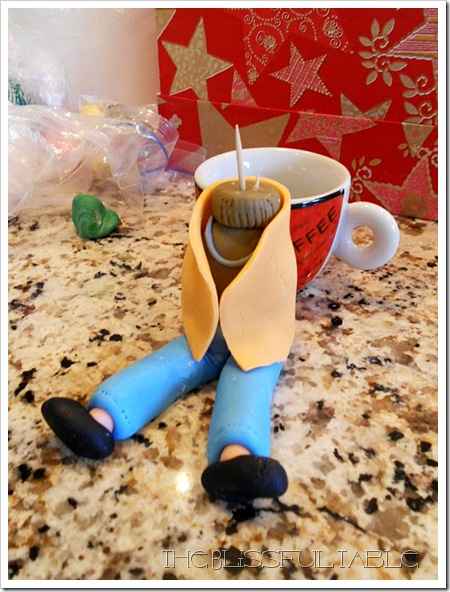
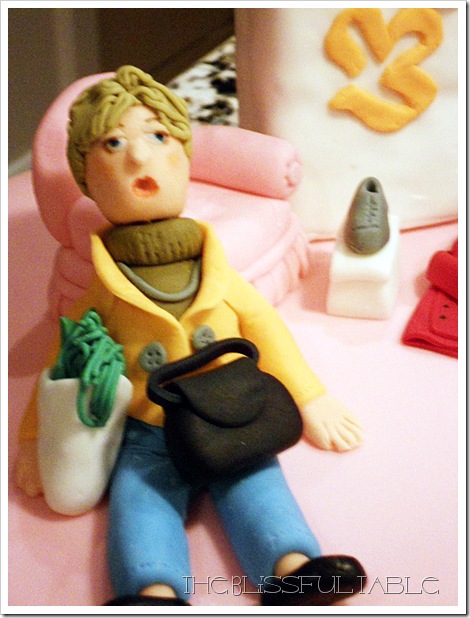
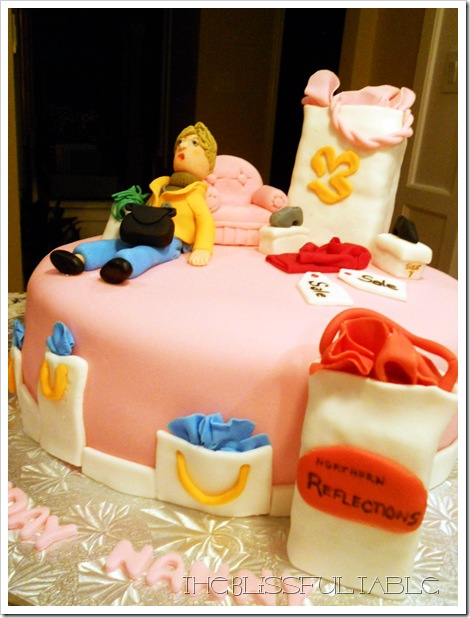
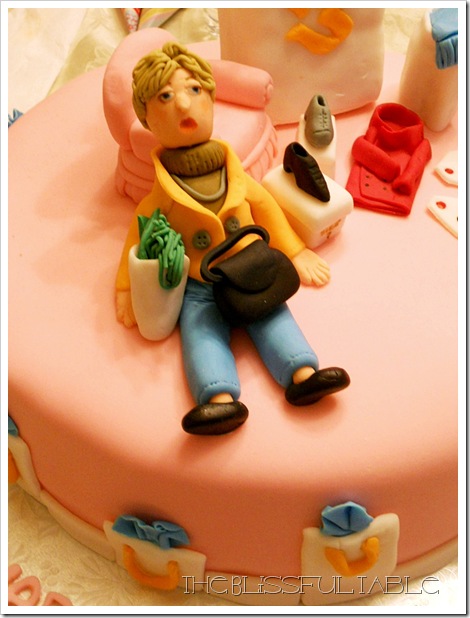
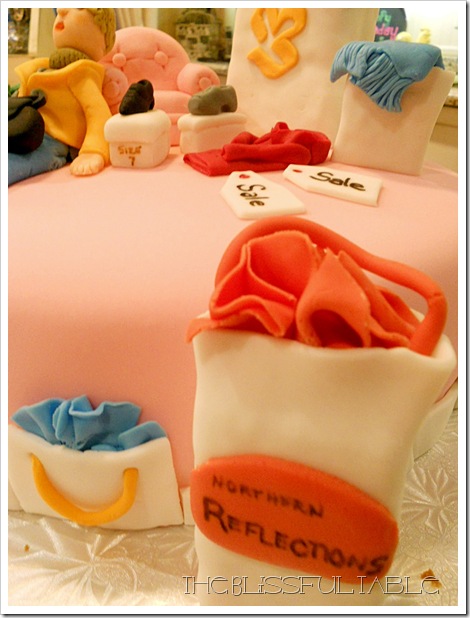
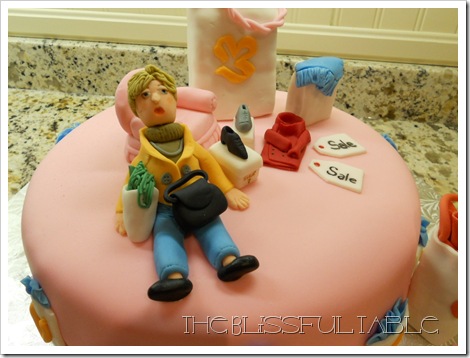
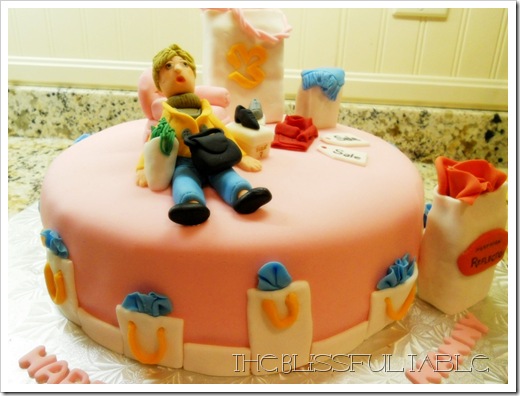
For the decoration, I wanted to show an exhausted shopper after a fulfilling day of shopping.
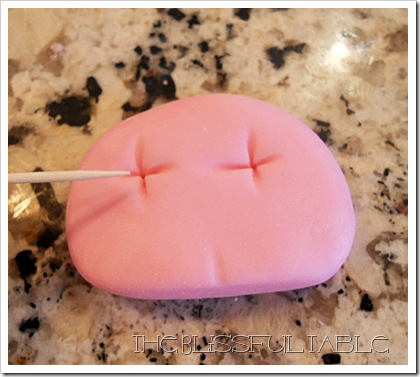
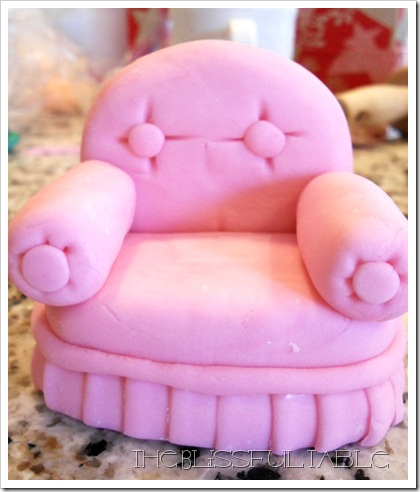
I started with a comfy chair. This was made out of fondant only.
Shopping Cake 004a
Shopping Cake 006a
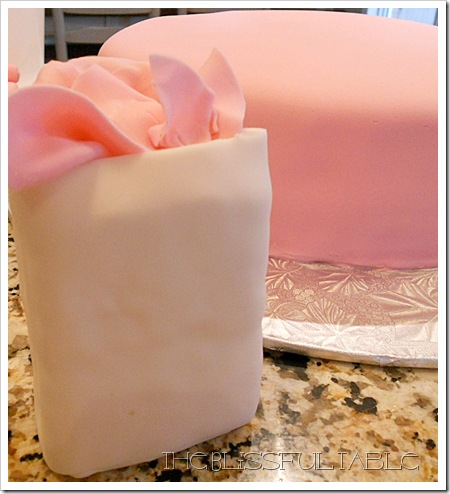
And of course some shopping bags.  The cake was also covered in pink fondant.
Shopping Cake 021a
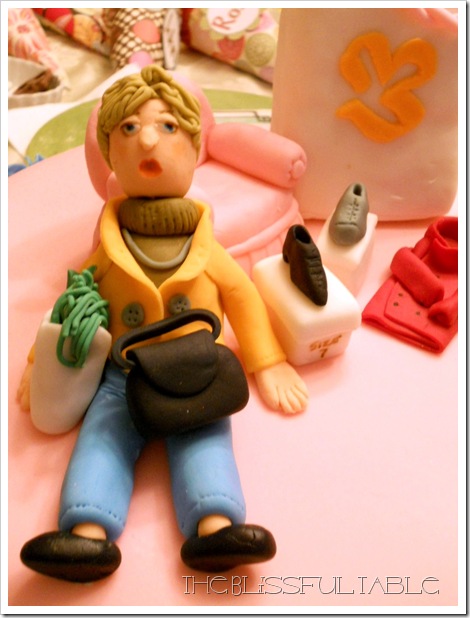
And now for our shopper ( or my mother )
Shopping Cake 010a
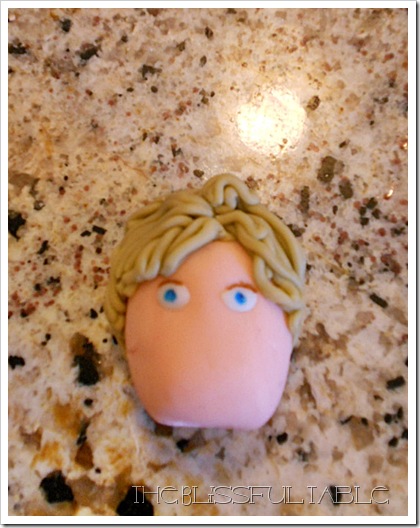
Her hair was put through the garlic press.   Her eyes were holes filled with white fondant. 
Shopping Cake 012a
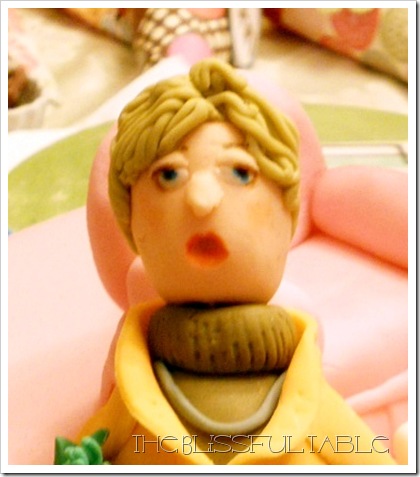
But to me, they looked a little too wide open for an over-fatigued shopper, so I fixed that. (hehe)
The half-mast eyelids and gaping mouth pretty much says it all.
Shopping Cake 038a
Since I was on my own making this cake and it took me hours, there are no more during pictures… so here is the finished cake.
Shopping Cake 026a

Shopping Cake 032a
Shopping Cake 034a
Shopping Cake 038b 
Shopping Cake 041a
Shopping Cake 044a
Shopping Cake 046a
Shopping Cake 049a


Happy Birthday Mom

lisapinkfork